SIGN UP FOR THE
ECOSMART NEWSLETTER
NEVER MISS A DEAL!
We can tell you all about how amazing our fabrics are. We can explain how they provide outstanding insulation and tremendous energy savings for your home. But we want you to experience the colors and the quality for yourself. And no matter where you are, we'll send your fabric swatches to you for free!
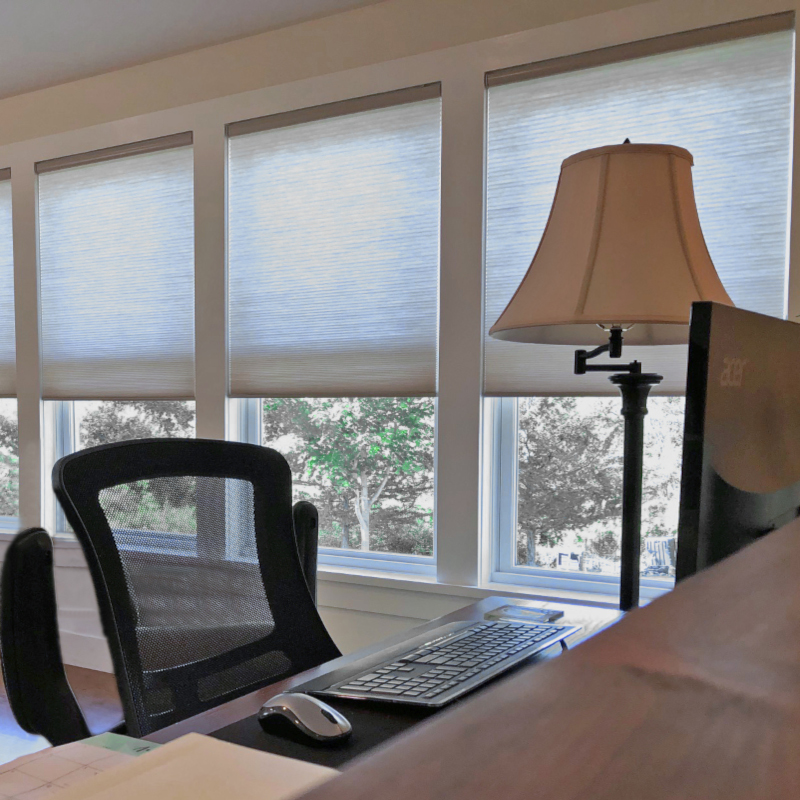
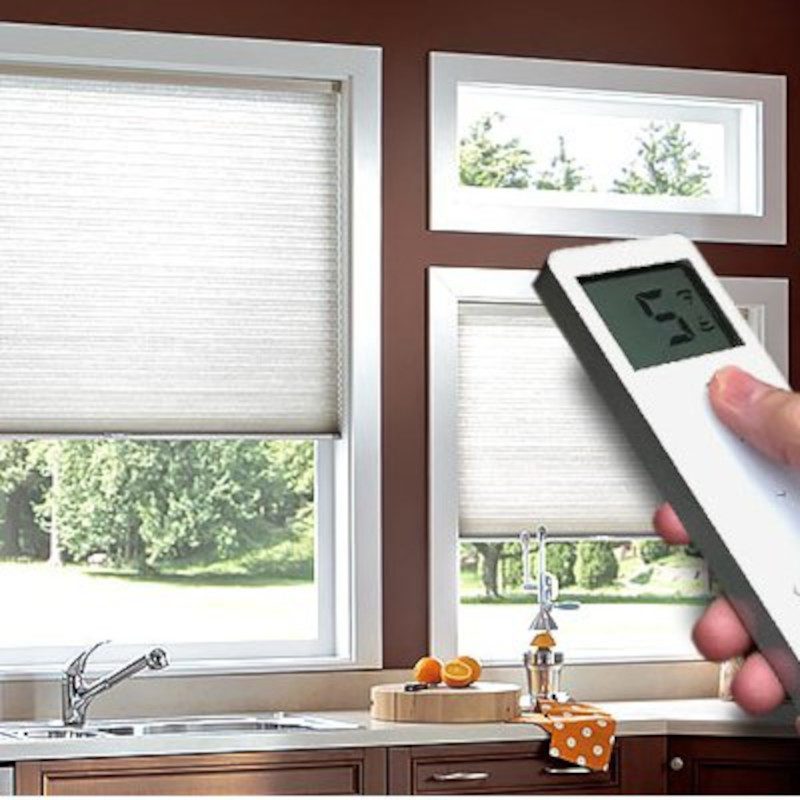
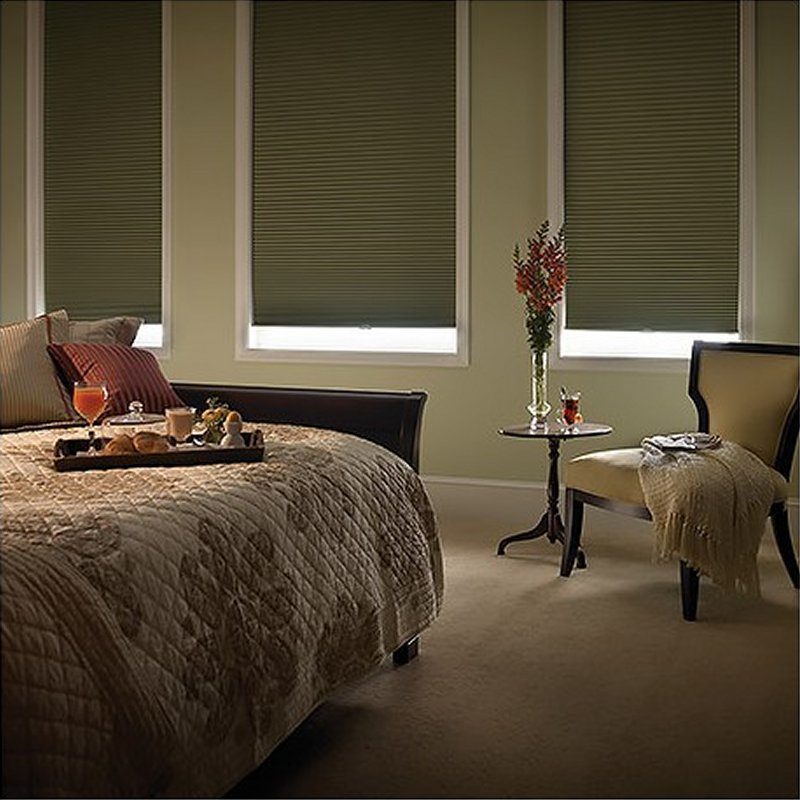
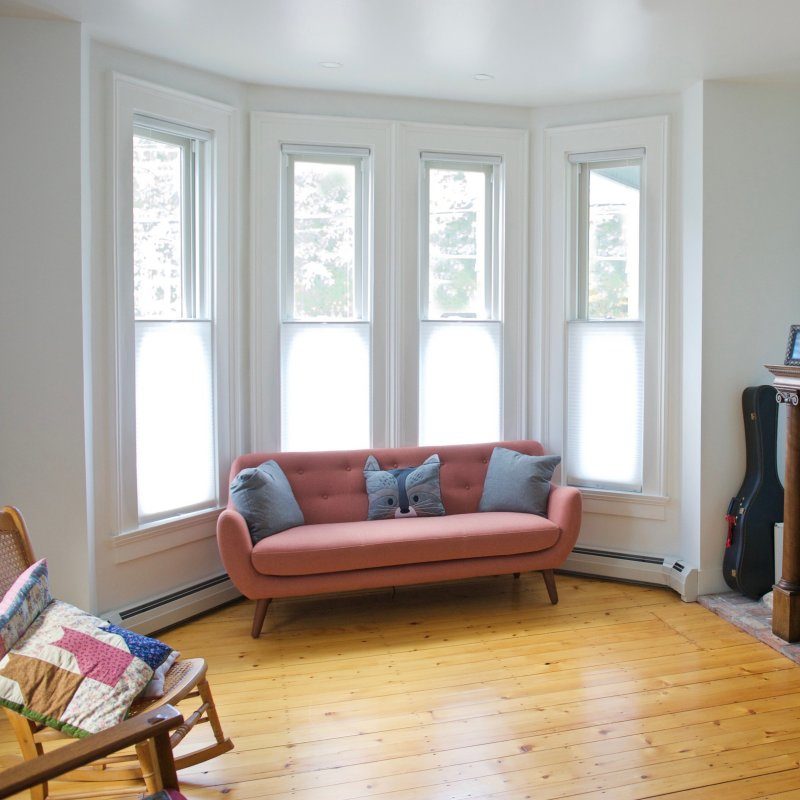
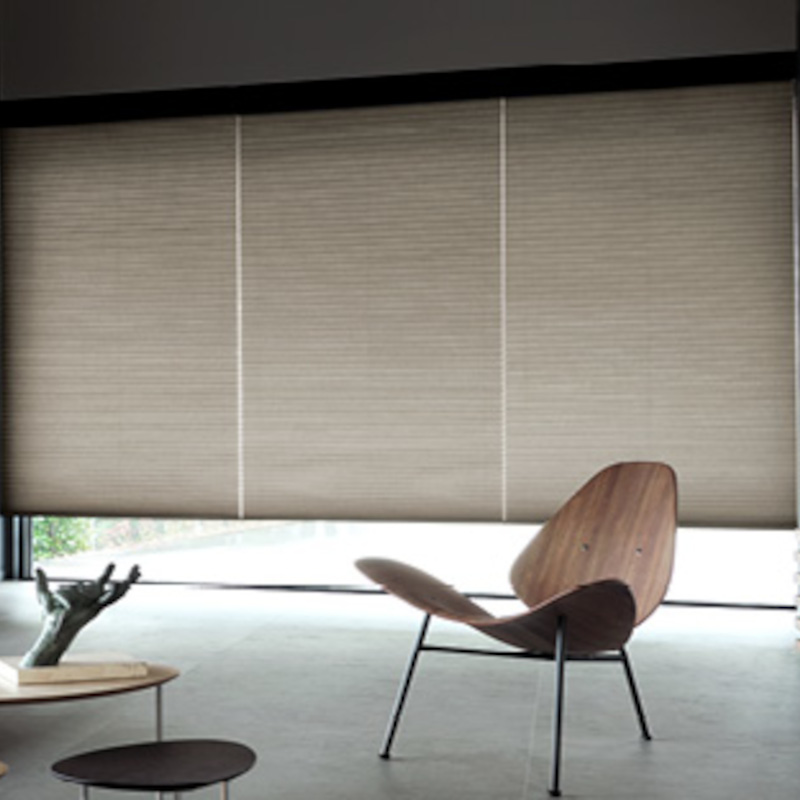
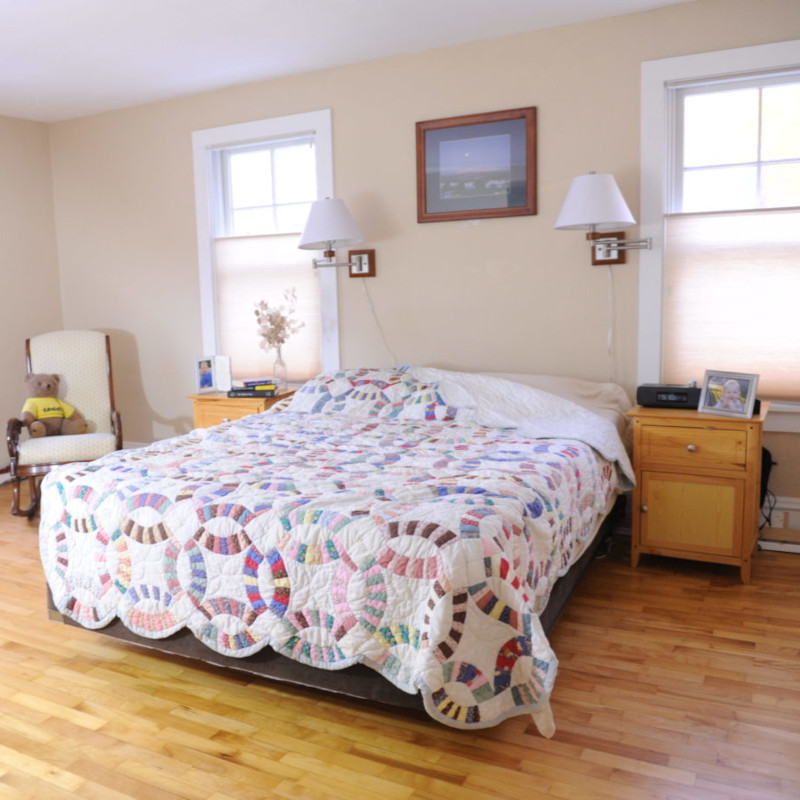
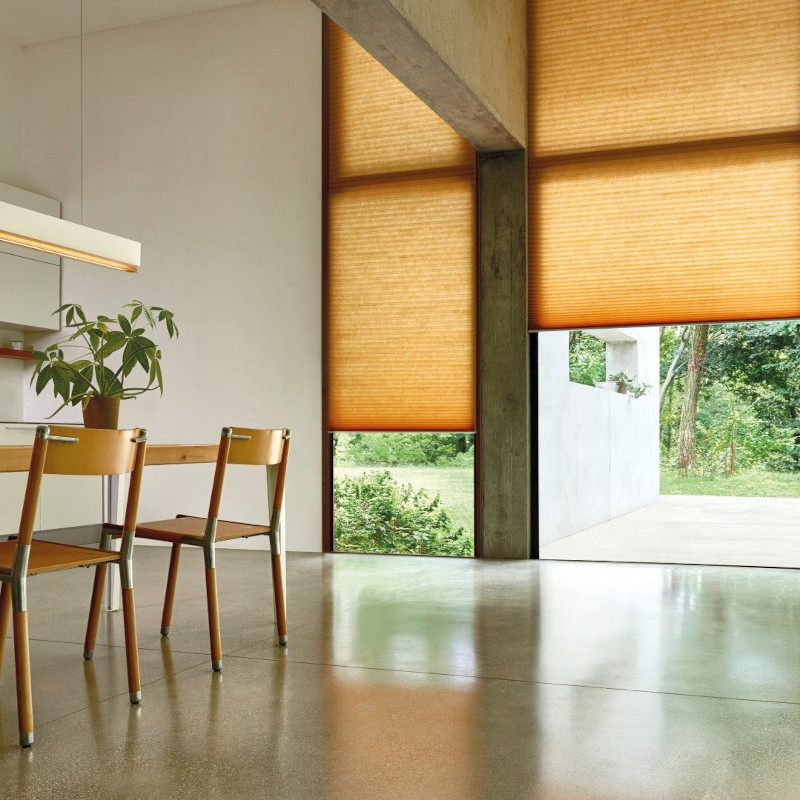
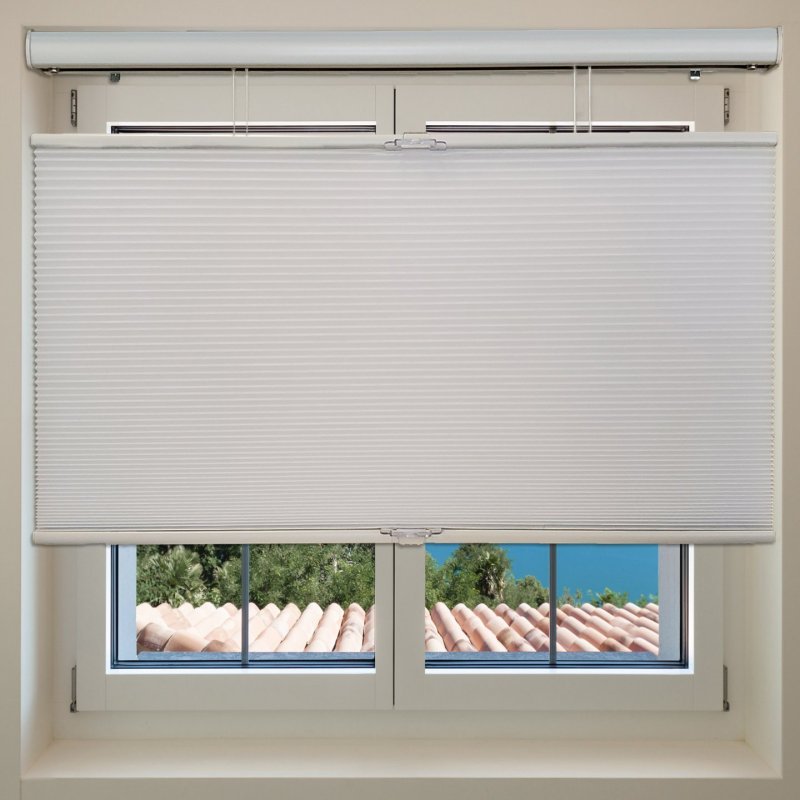
Use this customizer to select from ANY of our available *brand new* EcoSmart 2.0 operating styles, fabrics, and features. EcoSmart 2.0 Custom Cellular Window Shades are super stylish, extra insulating and customized to your precise requirements. Choose from corded, cordless, or motorized (coming soon!) honeycomb blinds. Enter your window dimensions. Select your light-filtering (translucent) or blackout (room darkening) fabric in either single or cell-in-cell (double cell). Add top-down/bottom-up functionality for even more privacy and light-blocking flexibility. We'll handcraft your custom shades here in our Vermont, USA facility and deliver them right to your door.
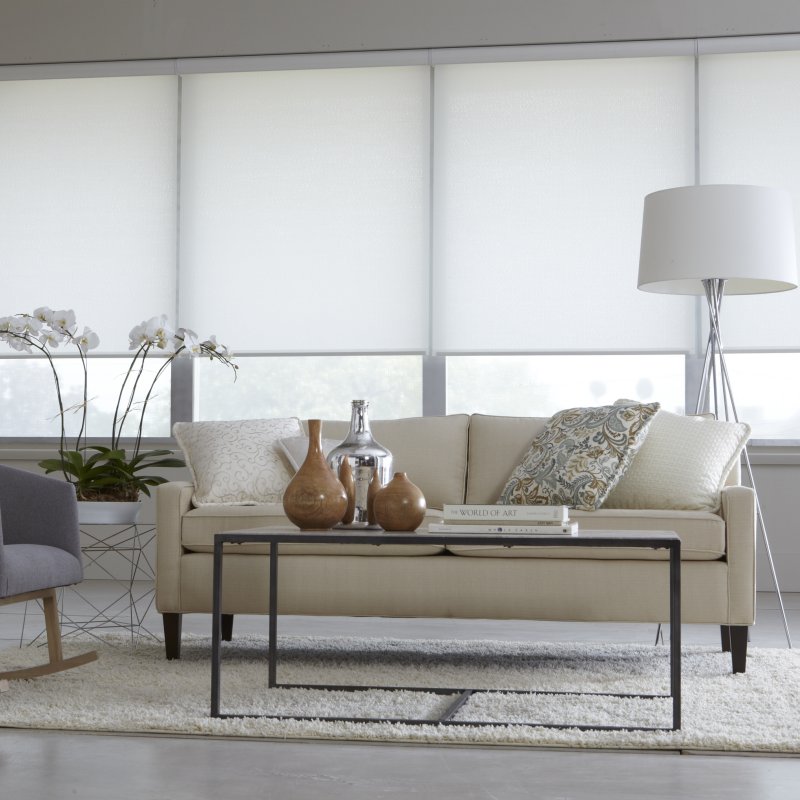
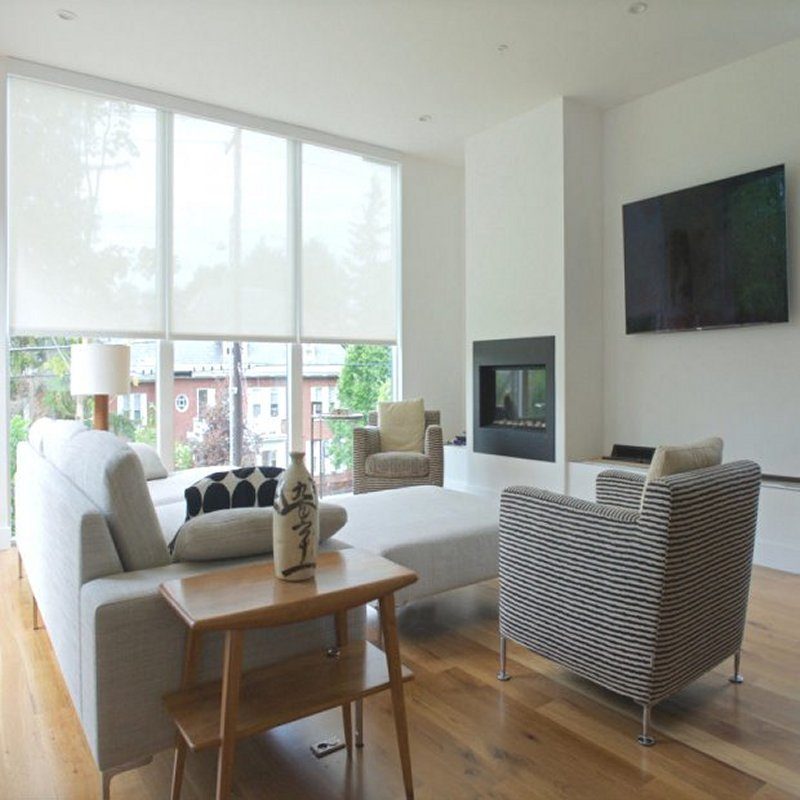
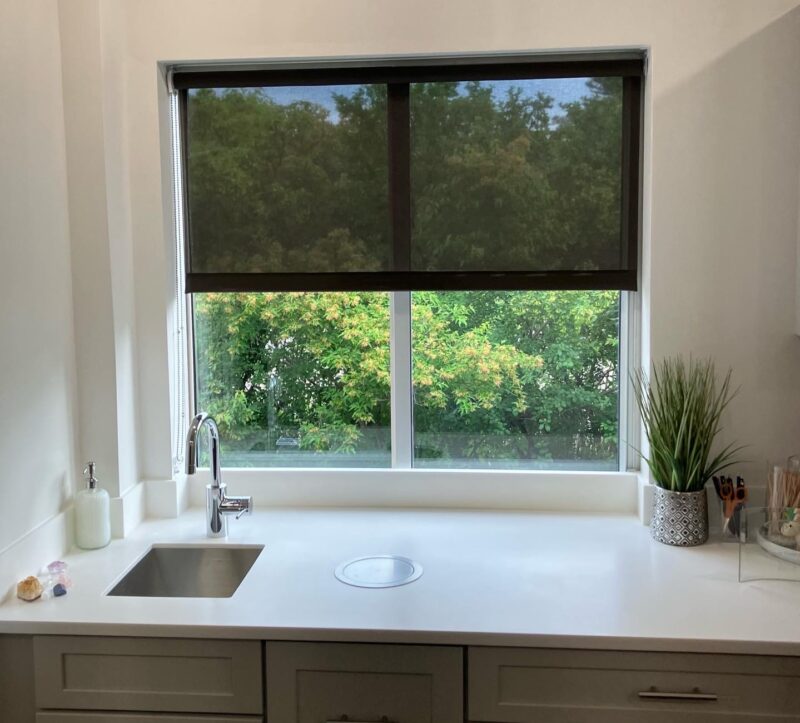
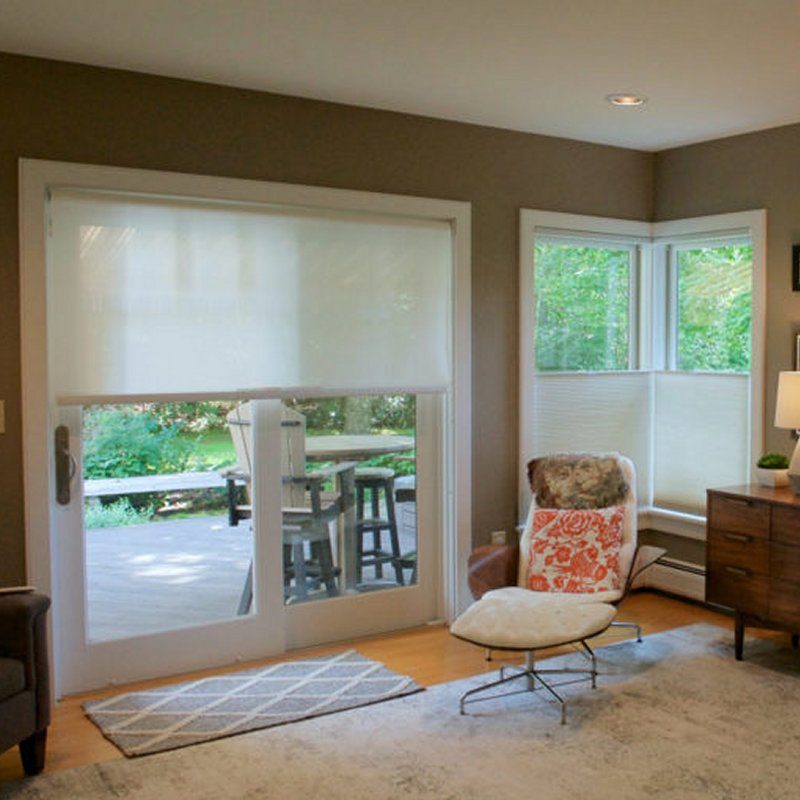
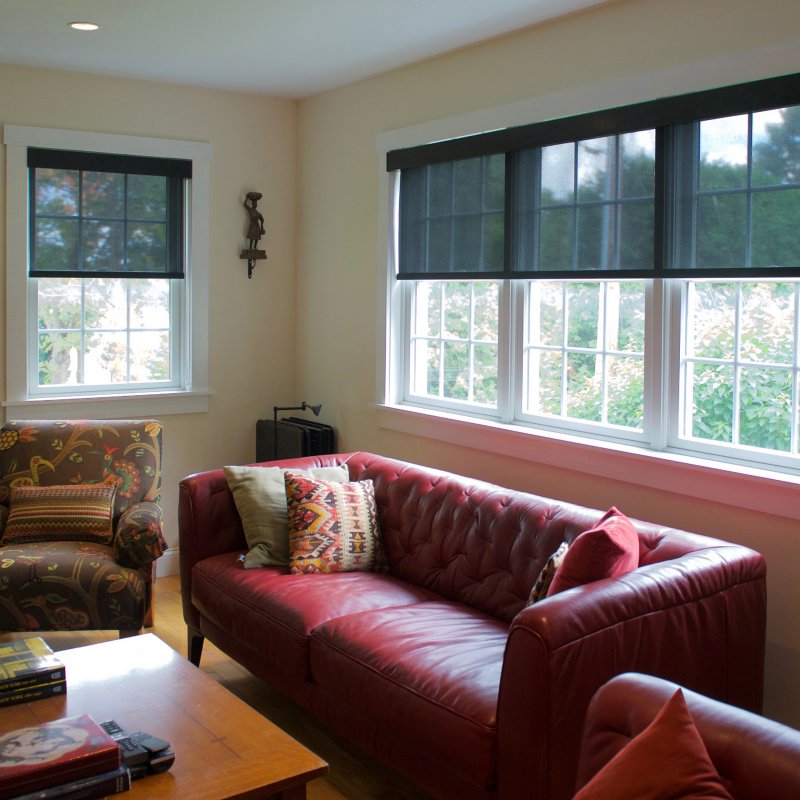
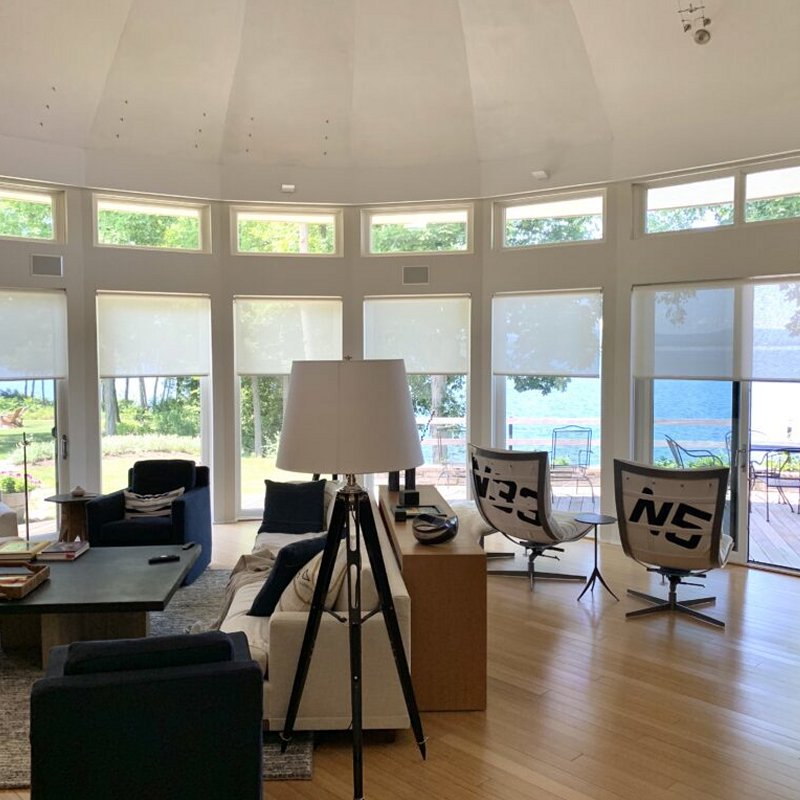
Use this customizer to choose your roller operation, fabric, and features. EcoSmart Custom Roller Shades are economical, incredibly durable, and have a sleek look that doesn't detract from your window. Choose from chain-operated or super-cool motorized roller blinds. Enter your exact window dimensions. Select your fabric type, from ultra-sheer to blackout (room darkening). Add optional fascia for an elegant roller covering. You can even select from a variety of amazing motorization and home automation options. We'll build your customized roller/solar blinds right here in our Vermont, USA facility and ship them to your door.
We have just completed our third winter with EcoSmart shades throughout our home in western Michigan. I waited to write this review, although our experience with them was great right... read more
 Julie Stivers
Website was easy to use, service was spectacular and personalized. Easy to choose our exact specifications from a broad range of options that did not feel overwhelming. Product arrived in... read more
 Brian Dess
I am very happy with the blackout shades I bought for my living room windows. They were easy to install and work great!
 Nathan Rathjen
Your email address is never shared. Unsubscribe at any time.
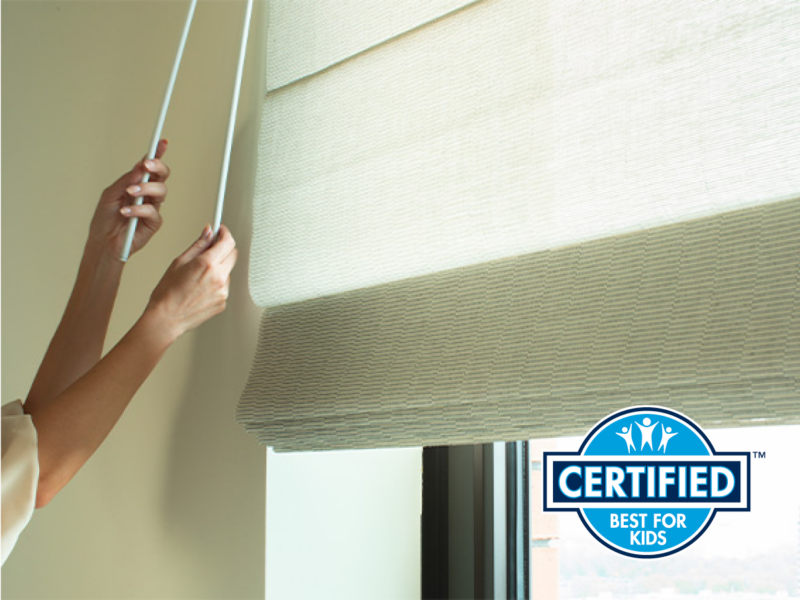
The award winning Twin Pull, the most child-safe shade operation on the market!

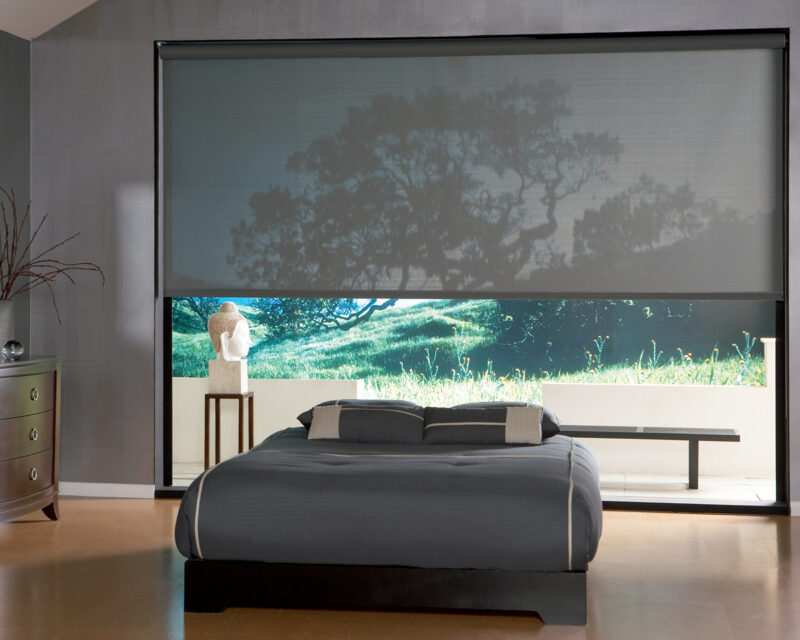
For many, a good night’s sleep requires a quiet, dark environment. But with light entering [...]
The team at EcoSmart loves roller shades for their simple, effective design that can be [...]
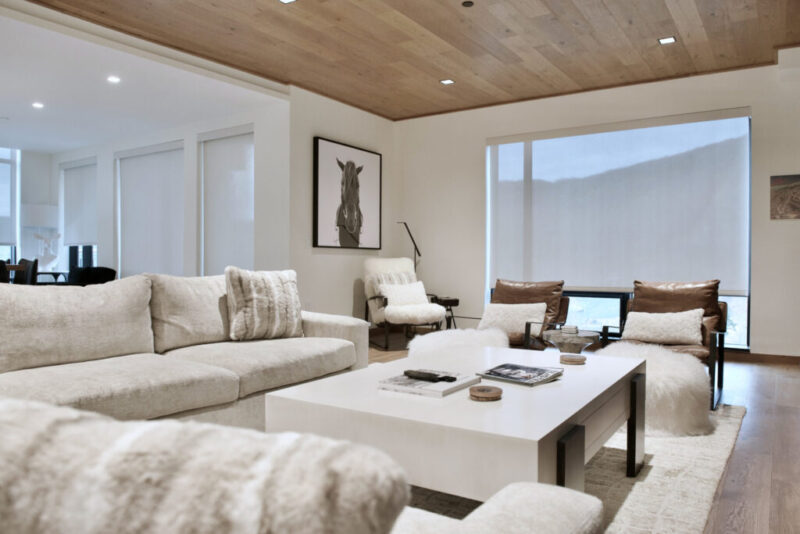
Anyone who’s ever shopped for home decor on the Internet knows that the mid-century modern [...]
"I'll be ready for the 100-degree summer!" To be honest, Sam was nervous and timid.
So, you know you need shades for your home or office, but when you start [...]

As shade experts, we know the importance of finding the right style of window shades [...]